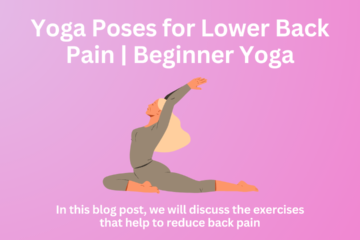
Top 13 Yoga Poses for Beginners
Yoga-interested beginners are here looking for yoga poses that help them stay fit. In this post, we will discuss beginner yoga poses. Here are beginner yoga poses shared, with details on how to do yoga poses, benefits, and beginner guidelines also provided. There are a lot of excellent reasons to include yoga in your daily practice.
Strength, balance, flexibility, and muscular tone are all enhanced by yoga. It helps you de-stress and relax because of its distinctive pranayama breathing. Additionally, studies have demonstrated that yoga poses improve general well-being and quality of life, help you sleep better, and lessen stress, anxiety, sadness, and chronic pain.
Are You Prepared to Attempt It?
These 13 postures, known as “asanas” in Sanskrit, are suggested for beginners by the Sri Sri School of Yoga. Are you new to yoga? Start with these beginning yoga postures and the finest yoga pose sequences that will help you develop the strength and self-assurance you need to advance your yoga practice.
The number of yoga positions and their peculiar names may seem overwhelming to someone who is just starting. Follow these guidelines to gradually increase your level of flexibility and strength before rolling out on a yoga mat for the finest beginner’s yoga practice. The more yoga you do, the more body awareness you’re developing.
Yoga Poses for Beginners
1. Mountain Pose
The first of the 13 beginner yoga positions. This is the most basic yoga stance that teaches you to stand steadily and majestically, like a mountain. The name Tada originates from the word “Tada,” which implies a mountain. The foundational stance for all standing poses, the mountain poses, strengthens the main muscular groups and enhances attention and concentration. Although this position appears to be “simply standing,” a lot is happening.
How Do Carry It Out?
- Place your arms alongside your body while standing with your toes together and your heels slightly apart.
- Distribute your weight equally across your feet and spread your toes.
- Your thigh muscles should be firm and rotate inward.
- Roll your shoulders back and down while keeping them relaxed.
- Lengthen your torso during the inhale, and release your shoulder blades from your head during the exhale.
- You can also lay your hands at your sides or in front of your chest in the pose of prayer.
Beginner’s Tip
- Breathe deeply, slowly, and slowly.
- First, you may measure your alignment by leaning against the wall.
- Even better, raise and extend your hands.
- Take deep breaths.
2. Pose of the Cow-cat
With no additional strain on your wrists or shoulders like other poses like down dog, cat-cow is an excellent technique to strengthen your core and warm up your back.
How Do You Carry It Out?
- Assume an all-fours position on your mat, placing your knees just below your hips and your hands just below your shoulders.
- Spread your fingers widely and equally divide your weight between your hands.
- Take a breath, arch your back, and feel the stretch, similar to that of a cat, from your neck to your tailbone as you bring your chin down to your chest.
- Lift your head and lean it back while lowering your back to a scoop shape as you exhale.
Advantages
- This yoga position for beginners helps with digestion.
- It eases mental tension.
- It strengthens the shoulder, wrist, and knee joints and stretches the spine.
- The cat-cow position also helps to calm the mind.
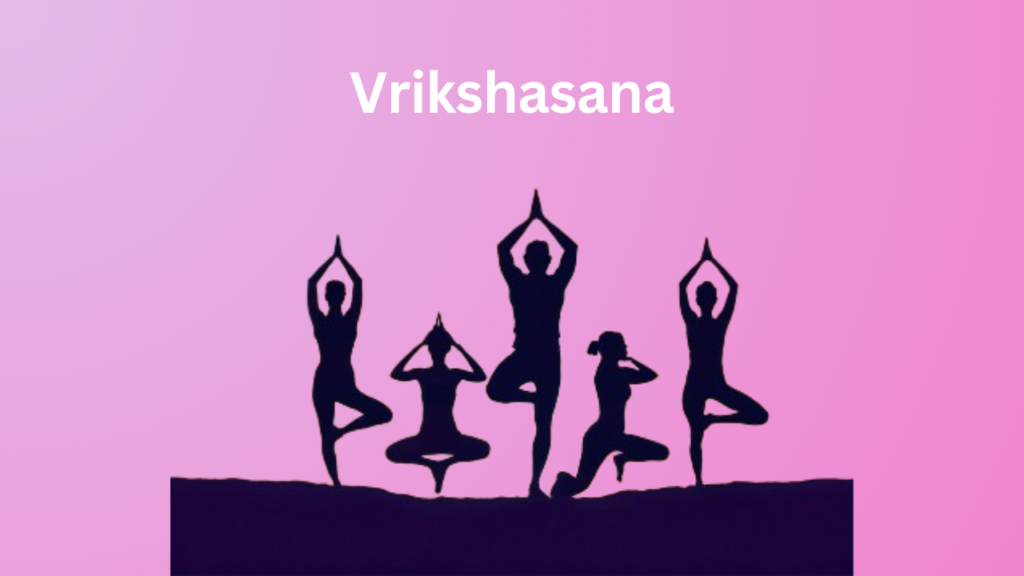
3. Tree Pose
This is a great standing balancing pose that helps novices focus and become more aware of their surroundings. It also teaches them how to breathe while standing and maintain balance on one foot. It mimics a tree’s stable posture.
How Do You Carry It Out?
- Placing your right foot on your inner left upper thigh, begin with your feet together.
- Find a point in front of you where you can maintain a steady look while pressing your hands together in prayer.
- After 8–10 breaths of holding and breathing, switch sides.
- Be careful not to lean onto the standing leg; instead, maintain a relaxed shoulder blade and an engaged core.
A Beginner’s Guide
- If you’d like, you can stand with your back up against a wall.
- If you find this stance unstable, you can stand with your back pressed up against a wall.
4. Child’s Stance
Think of this stance as your time to reset. If you need a break during class, this is a nice spot to go.
How Do You Carry It Out?
- Put yourself on your back. Keep your legs apart. Raise your arms to your sides, a little apart from your body.
- Make sure your palms are facing up.
- Allow your breathing to happen on its own.
- You can focus on your breathing if your thoughts stray, but try not to focus on it too deeply.
- Spend at least five minutes there.
- Better is ten minutes. Breathe deeper before attempting to exhale. Then, to gradually revive your body, start shaking your fingers and toes.
- For a complete body stretch, extend your arms aloft, bend your knees slightly, and run to the side.
- Reposition yourself so that you are sitting again, using your hands to support yourself.

A Beginner’s Guide
Fold a blanket over your thighs to accentuate the sense of the body being anchored in the dirt. Both an eye cushion and a block placed right beneath your navel have a comparable effect.
Advantages
- This simple yoga stance eases nervous system tension and relieves constipation.
- This child’s position stretches every muscle in the leg, thigh, and hip.
5. Triangle Position
Triangle is an excellent standing pose that strengthens the legs, opens up the lungs, and stretches the sides of the waist. The foundational standing stance in many yoga schools is the Triangle stance.
How Do You Carry It Out?
- Spread your feet apart as you stand. Keep your right leg closer to your body as you extend it out to a 90-degree angle.
- Maintain a flat foot contact with the ground and distribute your weight equally over both feet.
- Breathe in, then out, as you stretch your left arm up toward the sky while placing your right hand on
- Your shin, ankle, or the ground outside of your right foot.
- Take five to eight deep breaths and hold your eyes on top of your hand.
- Take a breath to rise and repeat on the other side.
A Beginner’s Guide
If the stance is unstable, place your back heel or body against a wall.
6. Pose with the Head Down
Pose is widely recognized and favored within the group, offering several advantages for enhancing strength.
How Do You Carry It Out?
- Your body forms an inverted V shape in the downward dog stance.
- Initially, place both of your hands, palms down, on the mat in front of you so that they are slightly forward of your shoulders.
- Put your knees just beneath your hips on the ground.
- Breathe out as you raise your knees off the floor and raise your hips and buttocks toward the ceiling.
- Stretch your heels toward the floor and push back on the tops of your thighs.
- Don’t let your head sag down; instead, keep it in line with and between your upper arms.
- Try bending your knees to assist and extending your back if you see that your lower back is rounding.

Advantages
- Decompressing the spine, opening up the shoulders, toning the arms, sculpting the legs, and calming the nervous system.
- It also improves general flexibility.
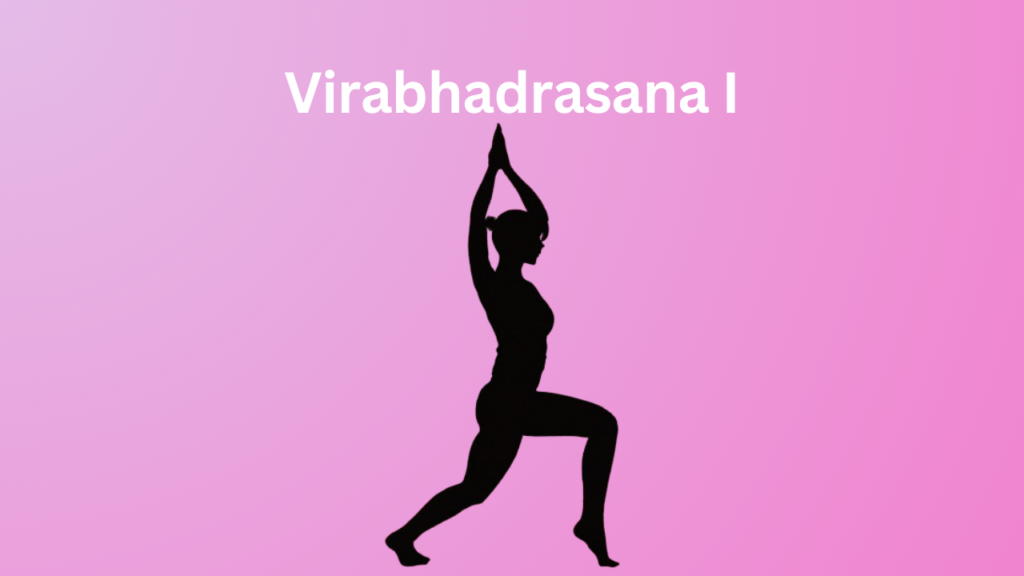
7. Warrior I
In a yoga practice, a warrior position is vital for developing strength and endurance. It boosts our self-esteem, stretches our thighs and hips, and strengthens our entire lower body, including our core.
How Do You Carry It Out?
- Assume the mountain pose, or Tadasana.
- Step or softly hop with your feet apart after exhaling.
- Raise your arms so that they are parallel to one another and perpendicular to the floor.
- You should turn your right foot ninety degrees to the right and your left foot 45 to 60 degrees. Place the right and left heel lines.
- Take a breath out and turn your body to the right. Exhale and bend your right knee over your right ankle such that your shin is perpendicular to the floor while keeping your left heel firmly planted on the ground.
- Inhale, drive the rear heel firmly into the floor, extend your arms forward, and straighten your right knee to stand up.
- Exhale, turn the feet forward, and let go of the arms.
- Breathe a few times, then move the feet to the left and continue for the same amount of time.
A Beginner’s Guide
While bending your front knee When you first start, your pelvis tends to lean forward. The pubis must be raised toward the navel, and the tail must be extended toward the ground. It’s common practice to perform adho mukha svanasana, or downward facing dog position, after urdhva mukha svanasana, or upward facing dog pose. This strong position stretches the chest and abdomen wonderfully while arousing upper-body strength.
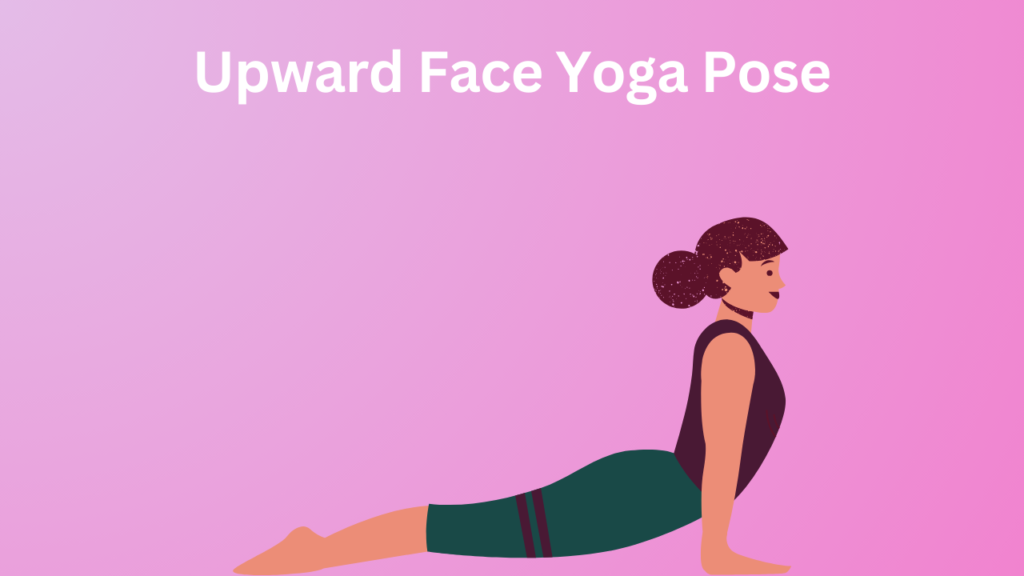
8. Upward-facing pose
How Do You Carry It Out?
- On the mat, lie on your stomach.
- With the tops of your feet on the mat, extend your legs backward.
- Spread your palms on the carpet next to your waist and bend your elbows.
- Breathe deeply and firmly plant your inner hands on the mat.
- Next, raise your chest and your legs a few inches off the mat while simultaneously straightening your arms.
- To open up your chest, pull your shoulders back, tense your shoulder blades, and incline your head upward.
A Beginner’s Guide
In this stance, there’s a propensity to “hang” on the shoulders, which elevates them toward the ears and puts strain on the neck. Lengthening down along the back armpits and drawing the shoulder blades toward the but will actively drag the shoulders away from the ears. You may also place a block under each hand. To release stress in your lower back, feel free to bend your knees.
9. Pose at the Bound Angle
The legs in this stance are moved in a way that resembles a butterfly fluttering its wings, thus the name “Butterfly Pose.”
How Do You Carry It Out?
- Take a comfortable seat and extend your legs in front of you.
- With your knees bent, bring your feet together so that their soles are in contact with your pelvis.
- Maintain a straight posture when breathing.
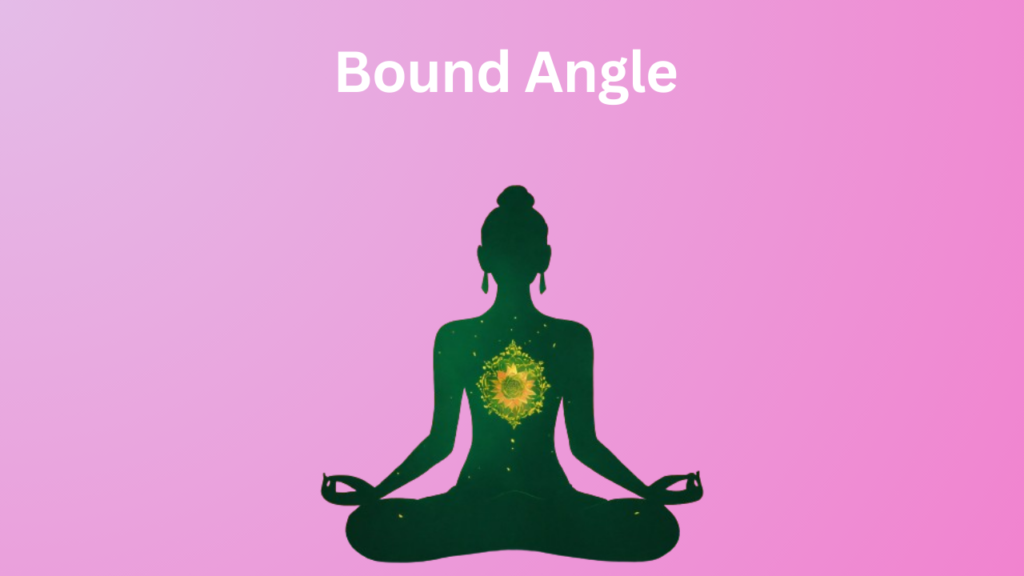
Advantages
- This sitting position enhances hip and groin flexibility as well as bowel motions.
- Menstrual pain can also be relieved by doing the bound angle position.
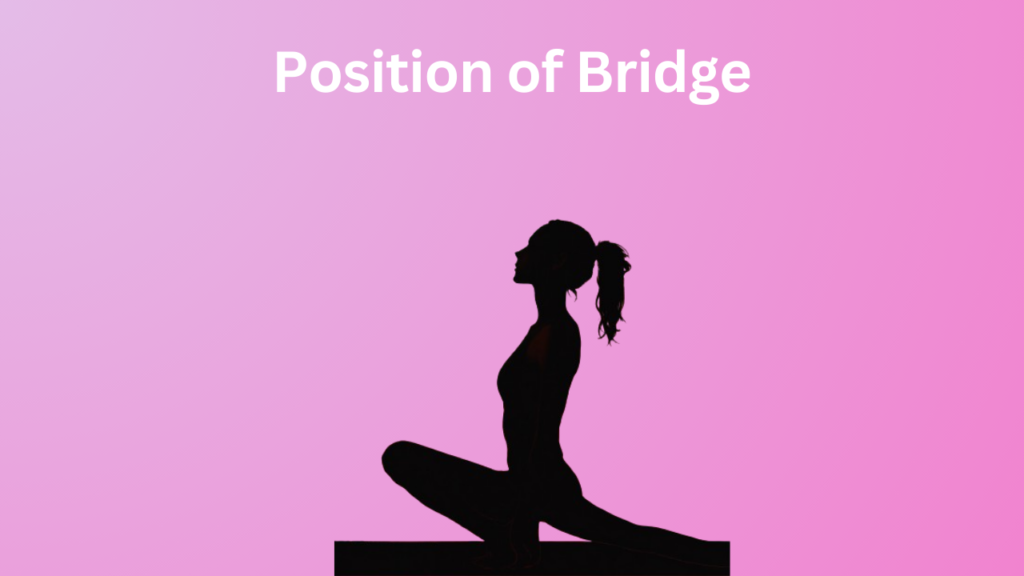
10. Position of Bridge
To bridge the gap between the body and the mind, perform Bridge Pose (Setu Bandhasana). A reverse bend is the opposite of a forward bend. The bridge is a fantastic back bend for beginners that works on strengthening the back body and stretching the front body.
How Do You Carry It Out?
- Start in a comfortable supine posture on your back with your feet hip-width apart.
- Raise your butt off the mat by applying hard pressure to your feet.
- Press your shoulder on the floor while your palms are interlocked.
- To activate your hamstrings, picture pulling your heels on the mat in the direction of your shoulders.
- Hold for eight to ten breaths, then drop your hips and do it twice more.
A Beginner’s Guide
In addition to being a wonderful method to relieve the lower back, a restorative version of the Bridge position with a block or bolster beneath the sacrum can also assist in reducing the pain and discomfort associated with menstruation.
11. Forward Bend with One Leg
For all levels of practitioners, this is a fantastic position. Both a gentle spine twist and a full-body stretch are offered by this position. The Sanskrit terms janu, which means knee, sirsa, which means head, and asana, which means posture, are the source of the pose’s name.
How Do You Carry It Out?
- Sit comfortably with your back straight and your legs out in front of you.
- Maintain your left knee on the floor, bend your left knee, and place your left foot against your right thigh.
- Stretch up and lift both arms above your head while taking a deep breath.
- From your waist, make a little right twist.
- Exhale and bend forward from your hip joints, extending your chin while maintaining a straight spine.
- Hold on for a while.
- As you take a breath, raise your arms to your sides and exhale.
- Continue on the opposite side.
Advantages
- A basic yoga practice that extends the lower back is the one-legged forward bend. It stretches the shoulder blades, tones the shoulders, and massages the pelvic and abdominal organs.
- Without a final relaxation pose, a yoga class isn’t complete.
- The corpse stance, also known as Savasana, is resting, yet despite its simplicity, it has been dubbed the hardest pose among all of the asanas.
- For the five to ten minutes you spend in ultimate relaxation, you should make an effort to remain mindful and present.
12. A Complete Yoga Breath
A basic deep breathing method with several advantages is full yogic breathing.

How Do You Carry It Out?
It combines three breathing techniques: clavicular, chest, and belly breathing. Watch this short movie and follow along step-by-step.
Advantages
- A straightforward deep breathing pranayama with several significant advantages is full yogic breathing.
- It helps you release tension and anxiety, increases lung capacity, and revitalizes your entire body.
13. Yoga Nidra and Corpse Posture
Always set aside five to twenty minutes for rest following an asana practice. If you have five minutes to spare, unwind in corpse posture, or savasana. You will become completely calm after a thorough yoga nidra and savasana.
Advantages
- Always conclude your practice with a yoga nidra or resting posture.
- It primes the neurological system to take in the benefits of every yoga pose.
Conclusion
Allow ample time to master these postures. Set aside some time each day (or every few days) to unwind in a cozy setting and go over your routine. If you practice yoga regularly, your body will flow more easily from one posture to the next for better physical function and overall well-being.
Begin with a few simple ions. Always stretch first and concentrate on taking deep breaths! If you ever feel confused or need guidance, reach out to us through our contact form. I wish you a fulfilling and perfect yoga experience ahead!

0 Comments